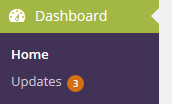
So you are obeying your nagging web developer and logging into your WordPress configuration panel and you see this in the upper left corner:

It’s that time again! Time to suck in your breath, close your eyes and update your website – alone.
You can do it. You don’t want to pay a monthly fee to have an expert do the updates. Besides, your web developers told you can do it. If you are one of our customers, you were even trained, once.
You might have forgotten all of it, but that’s okay. That’s why you are reading this. Let’s begin:
1. Assess your WordPress Updates
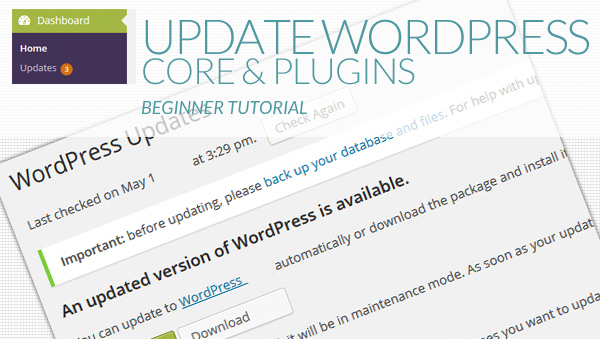
In your configuration panel, if you see a round circle with a number in it next to the word “updates” in your vertical Dashboard menu, that means you have updates to run for WordPress itself, for plugins and/or even for a theme. This tutorial covers updates to the WP Core and plugins only. (Please contact your own Web Developer/Designer if your theme is calling for an update; there might be special cautions you need to take to not break the design).
Now it is time to run updates. Word of warning, if your design is on a StudioPress Genesis child theme, and your Genesis framework is calling for an update, run the Genesis framework update before you run a WordPress Core update. That order is very important for Genesis updates, and we mention it here because we use Genesis on many of our client sites.

Also, before running updates, be sure to create a site back up. You may have a plugin installed for this, or your host might offer an option. Each host provides various options regarding backups, and there are even plugins to do the job. Contact your Web Developer/Designer to see what they recommend. Sometimes it is as easy as visiting your host panel and clicking backup. Some hosts back up regularly, such as Bluehost and WPEngine.
Next, look for a WordPress Core update, If you don’t see a call for a WordPress Core update, skip down to Step 3 of this tutorial to update your plugins, but if you do, move on to Step 2.
2. Updating Your WordPress Core
If you are sure you have a backup, click on the green update button to update your WordPress. It should be named “Update Now”. The update takes a moment.
When it is completed, you’ll be shown a “Welcome to WordPress..” page.
You might now have to update your plugins again, even if you already updated. With every major WordPress update, plugin updates nearly always follow, sort of as in a domino effect. They could appear around the same time, or not for weeks after so that is why you should check into your configuration panel weekly for updates to run.
3. Updating Your WordPress Plugins
To run your plugin updates, go back to the Dashboard menu on the left and click on “Plugins”.
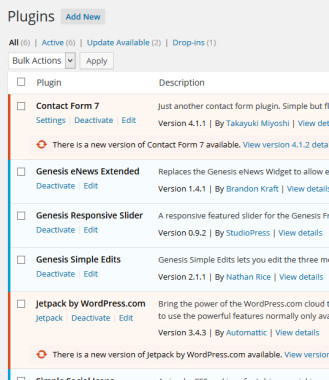
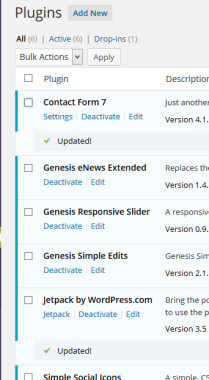
Plugins that need to be updated are in red.  Click on the “update now” link for each. (I would not use the bulk action method above because accidental deletion is too easy.) When they are each completed, the WordPress Update page should look like this:
 You might want to check your site front view, now. Click through and be sure all functionality is a-okay. If not, there is probably an easy fix, just shoot an email over to your web developer. But chances are, if you have a child theme, every thing is unchanged.
That’s how to update a WordPress site. Now pat yourself on the back, and take a long walk, you are okay. And so is your site.

